The correct way to hang wall art: We already know different type of artwork for your home and wall decor for the living room, bedroom etc. You can find in our archives anytime. But today we are trying to learn about how to hang artwork on the wall properly with a trendy style that creates out of box composition. So, in this article, we are check and learn about different type of methods and ideas like hung without nails from the ceiling. You can create gallery style with multiple pictures on the wall and what is correct height for hanging your artwork. Because correctly hung artwork is the finishing touch to any successful design.
Best way to hang wall art correctly is one of the historical quests of interior designers and decorators. Everyone has known that if we hang improperly work of art, it became sore in the viewers. But it is tricky to get it the right way. That is possible when you are aware of the unspoken rules that you need to follow.
How to hang wall art multiple pictures on the wall?
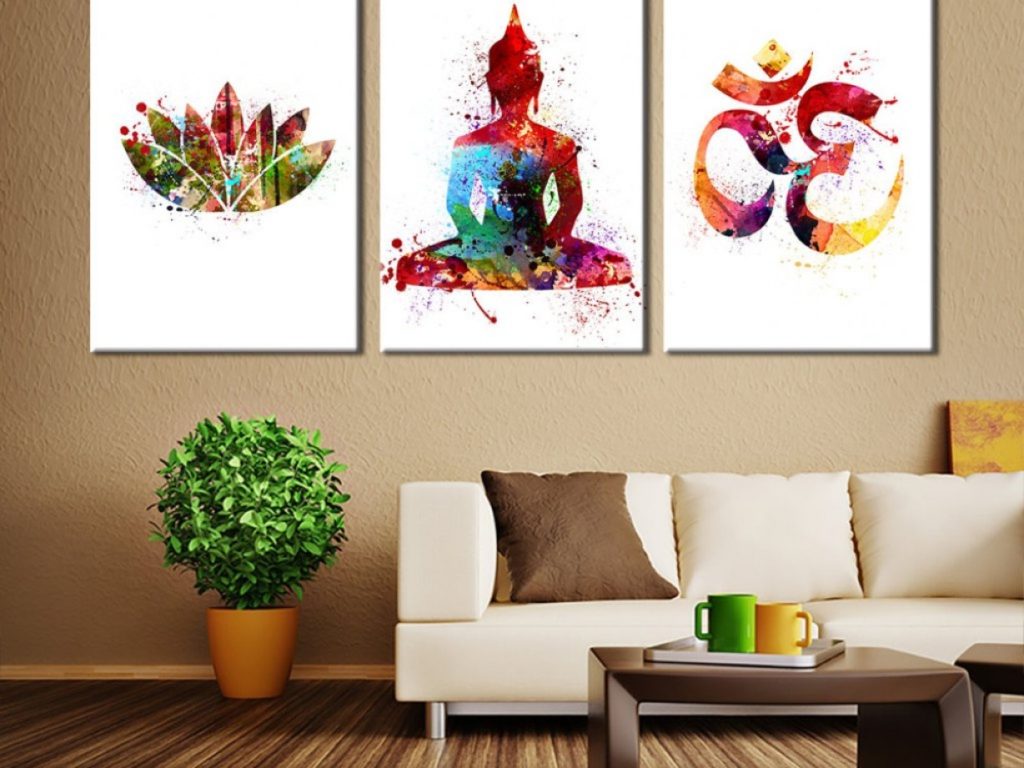
We’re here to clear up this subject once and for all. Consider this your ultimate guide on how to hang wall art the right way. We have a guideline every step you need to know to find the perfect place for your artwork every time.
How to hang artwork?
So, let’s just check that out.
How to hang wall art:
Once you have your wall art and its placement selected, it’s time to get hanging. While this is usually considered a two-person job, there is a simple way to make it work on your own. All it takes is some paper and a little tape.
Start by tracing your piece of wall art on a piece of paper. Then, cut it out so you have a template to use. Make a mark on the template to show where the picture wire or hook will be by measuring out the same distance as from the wire to the top of the frame. With the marking-side out, match up the nail marks on your template to the nail mark on the wall and secure it in place with tape. This will give you a chance to step back and see how the wall art will look from farther away. Feel free to make adjustments as you see fit.
Once you’re happy with how the wall art is placed, break out your nail and hammer. Place the nail on the spot you’ve marked. Then, peel away the template. From there, all you need to do is put the picture in place.
Select the right size artwork:
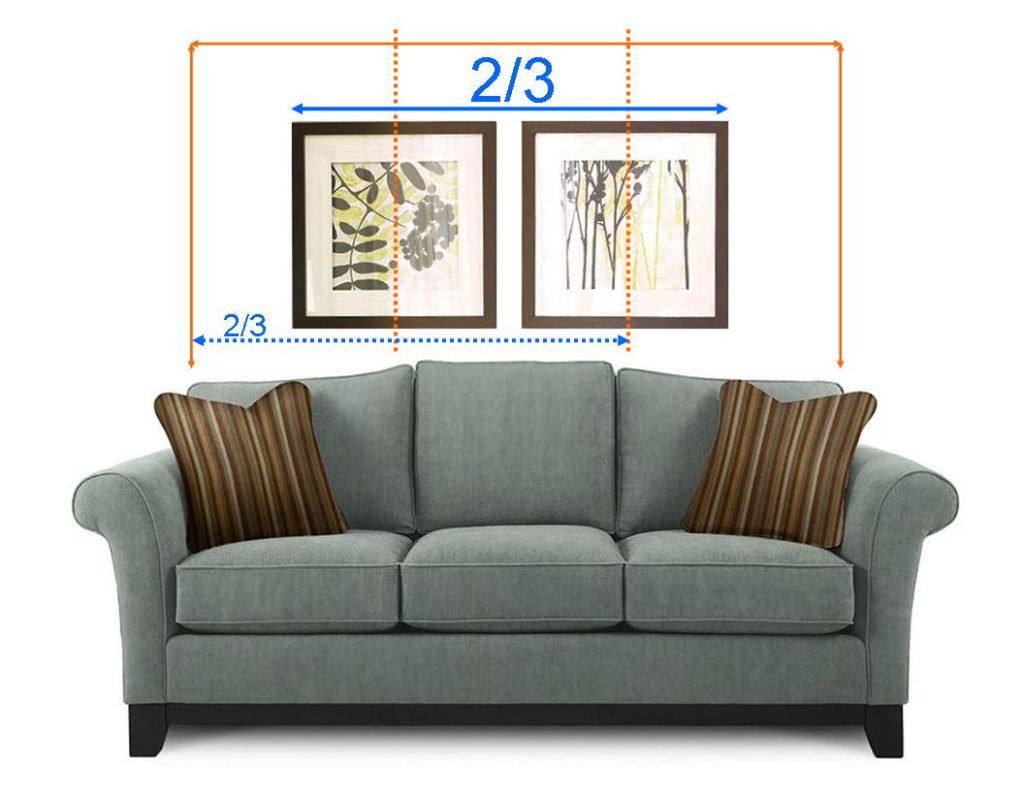
First of all, you need to clear yourself that the piece of wall art you select is the proper suitable size for the spot where it is going to be hung. Even if your hanging skills are precise, an artwork piece that is too big or too small for its wall is going to end up looking out of place.
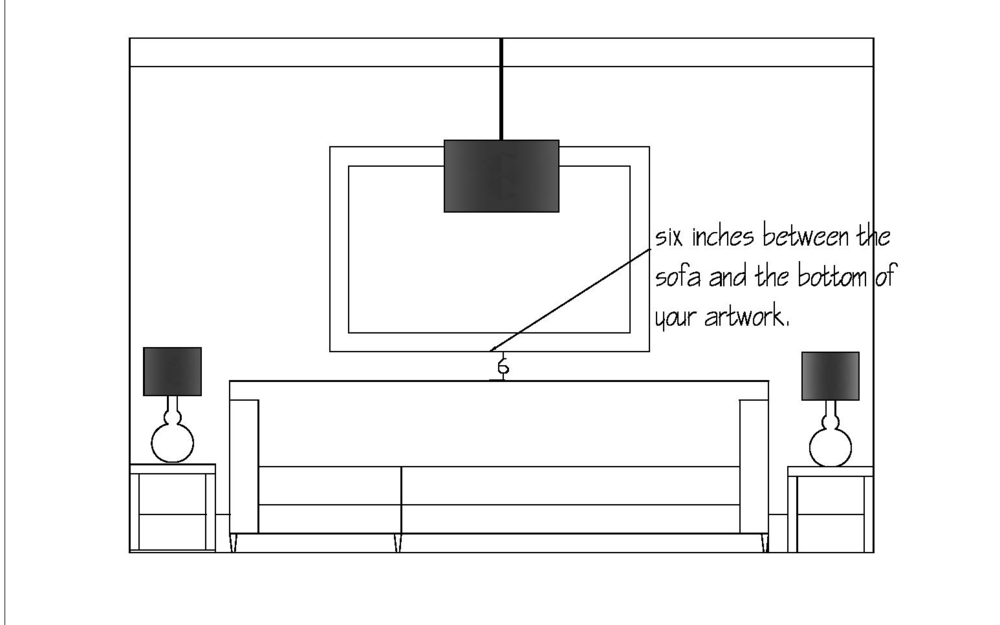
When you are going to put artwork directly behind furniture, like a painting over a sofa or buffet – you are in luck. There is a way of trick that allows you to eyeball your measurements. Ideally, the furniture item is slightly longer or broader than the wall art on either side. So, you have to aim to find a wall hanging that is two-thirds its length.
If you’re planning on putting the piece of artwork on a standalone wall, the math is a little more complicated. (Though, nothing that can’t be solved with the help of a calculator.) Conventional methods state that artwork should take up four-sevenths of the wall on which it is placed. To figure those dimensions, start by measuring the length and width of the wall. Then, multiply each number by 0.571, which is four-sevenths as a decimal.
Find the placement in the room:
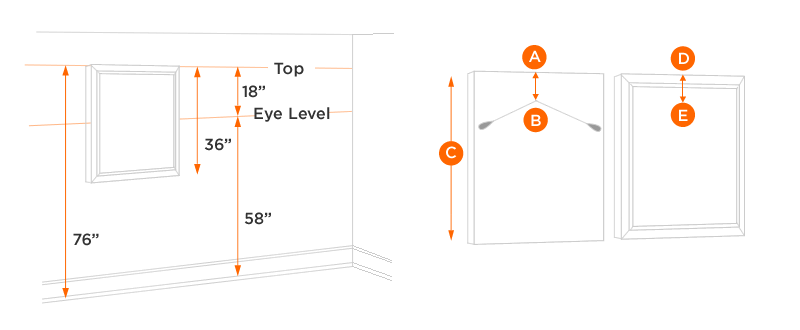
Earlier, the thumb rule said that all artwork should be placed roughly at eye level. But, when we see it person to person, it differs, like my eye level is 5’9” and yours is different to mine, right? So, these days in the practice that the center of a piece of art should generally be at 7’ or 56” from the floor.
To find that spot, start by measuring the height of the picture and then dividing that number by two to find its center. Afterward, measure the distance from the picture wire or nail hook to the top of the frame. Subtract that distance from half of the picture’s height, and finally, add your result to 57. Whatever your final number ends up being, measure that distance up the wall to find the point where you should put your nail and mark it for later use.
That said, math is no substitute for perception in interior design. While you can use these figures as a guide, don’t be afraid to make adjustments accordingly. For example, when a room has high ceilings, it may make more sense to hang your wall art slightly higher than usual to account for the extra space.
How to hang art gallery style:
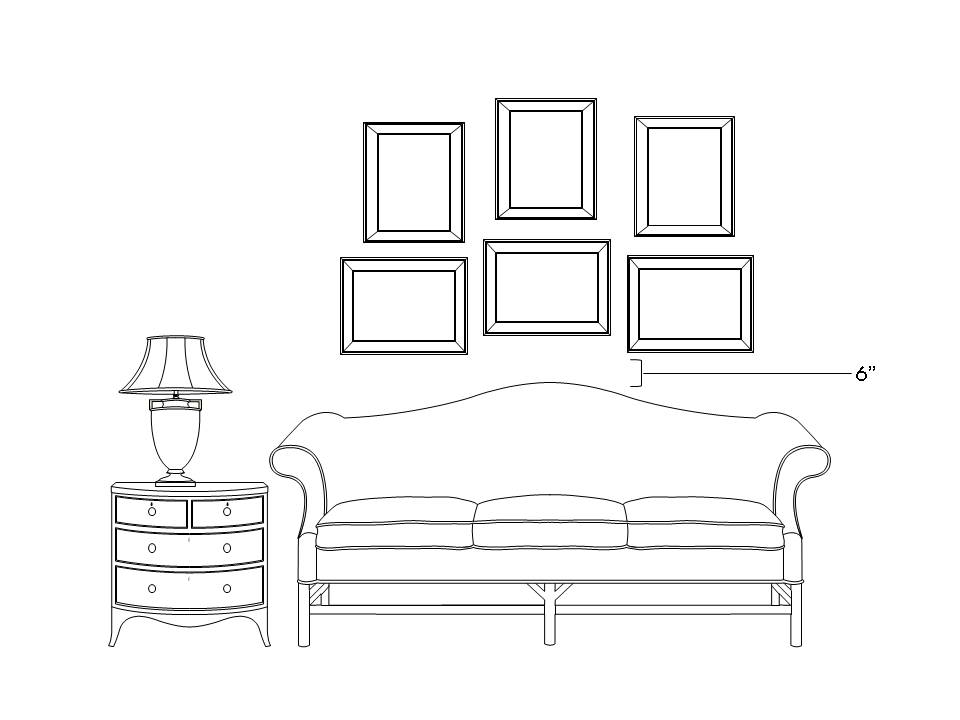
People have a tendency to shy away from gallery walls because they believe putting one together is overly difficult or they won’t be able to put together an aesthetically pleasing arrangement. In reality, hanging one of these doesn’t take that much extra effort.
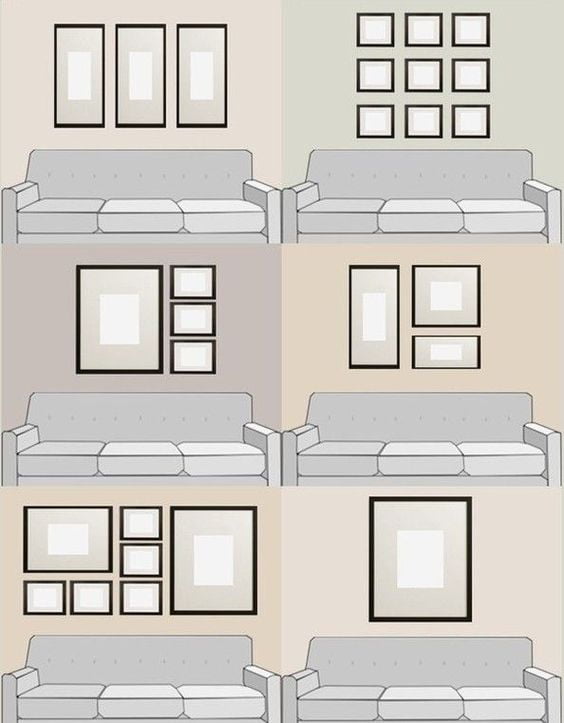
This difference lies in how you start. Once you’ve collected all of the pieces, decide on the arrangement. Do this on the floor rather than on the wall so you can easily make changes. Choose a center item first and then build your layout around it.
Once you’re satisfied, follow the same processes described above. Start by placing a template of your center photo at 57” and add in the other templates according to your layout. Then, one by one, use the templates to place the nail on each artwork.
How to hang wall art without nails?
Do you want a really hang-up way to learn how to hang canvas wall art without nails, and not have to worry that it will crash-land in the living room – (or worse, over your head!). The strips come in large, medium and small, so I went with the medium for the gilt frame as it’s quite heavy. They are almost like Velcro strips with a sticky back. So you snap them together, stick on the side of the frame and then the other one stick to the wall. I got them all attached and ready to go on to the wall.
Know more about wall art examples here,
- Unique Canvas Wall Art Ideas for Paintings, Posters and Art Prints!
- Best metal wall art design ideas help to fill the lonely wall of your rooms!
- 101 Best Bedroom wall art decor ideas with canvas painting, metal artwork and more!
- Elements of interior design – Most relaxing bedroom decorating ideas.
- Cool decorate teenage room ideas for Girls and Boys with DIY furniture.
- Easy kitchen update ideas photos and DIY on a budget.
Final thought: If you’re unsure how to hang wall art at proper height, trust us when we say you’re not alone. Many homeowners and designers struggle with one of interior design’s most fundamental tasks. We’re here tried to clear up this topic once and for all. Use this as your ultimate guide on how to hang wall art. Our tips will help you complete this once-stressful task with ease. Do you have trouble hanging wall art? Do you have any tips you can share to help get it right? Let us know in the comments below. And stayed tune for regular updates from kadvacorp.


